Getting Started with Home Labs and Home Servers
Learn how to get started with home labs and home servers, from hardware choices to your first self-hosted services.
Why Build a Home Lab?
A home lab is your personal environment to test servers, networking, and self-hosted tools without touching production systems. It is the perfect playground for developers and sysadmins.
Benefits
- Learn by doing — hands-on experience with Linux, Docker, networking, and more
- Self-host your services — own your data with tools like Nextcloud, Gitea, and Bitwarden
- Save money — replace monthly subscriptions with self-hosted alternatives (like Plex for media streaming or Nextcloud for storage)
- Level up your resume — running real services in your own lab is a huge plus in IT interviews
Getting Started
1. Choose Your Hardware
You do not need a noisy enterprise rack server. Start with what you already have:
- An old laptop or desktop collecting dust
- A Raspberry Pi 4 or 5
- A mini PC (Intel NUC, Beelink, etc.)
- Pro tip: even that old family PC can become your first server :)
2. Install an Operating System
For your server base, I recommend Ubuntu Server. It is lightweight (no heavy GUI by default), stable, and backed by a huge community.
Create a bootable USB
- Download the Ubuntu Server ISO from the official website.
- Use a tool like Rufus (on Windows) to write the ISO to a USB drive.
- Plug the USB drive into your server machine and boot from it.
During installation
- Follow the default language and keyboard steps.
- Create your username and a strong password.
- Important: enable the OpenSSH server option so you can manage the machine remotely from anywhere at home.
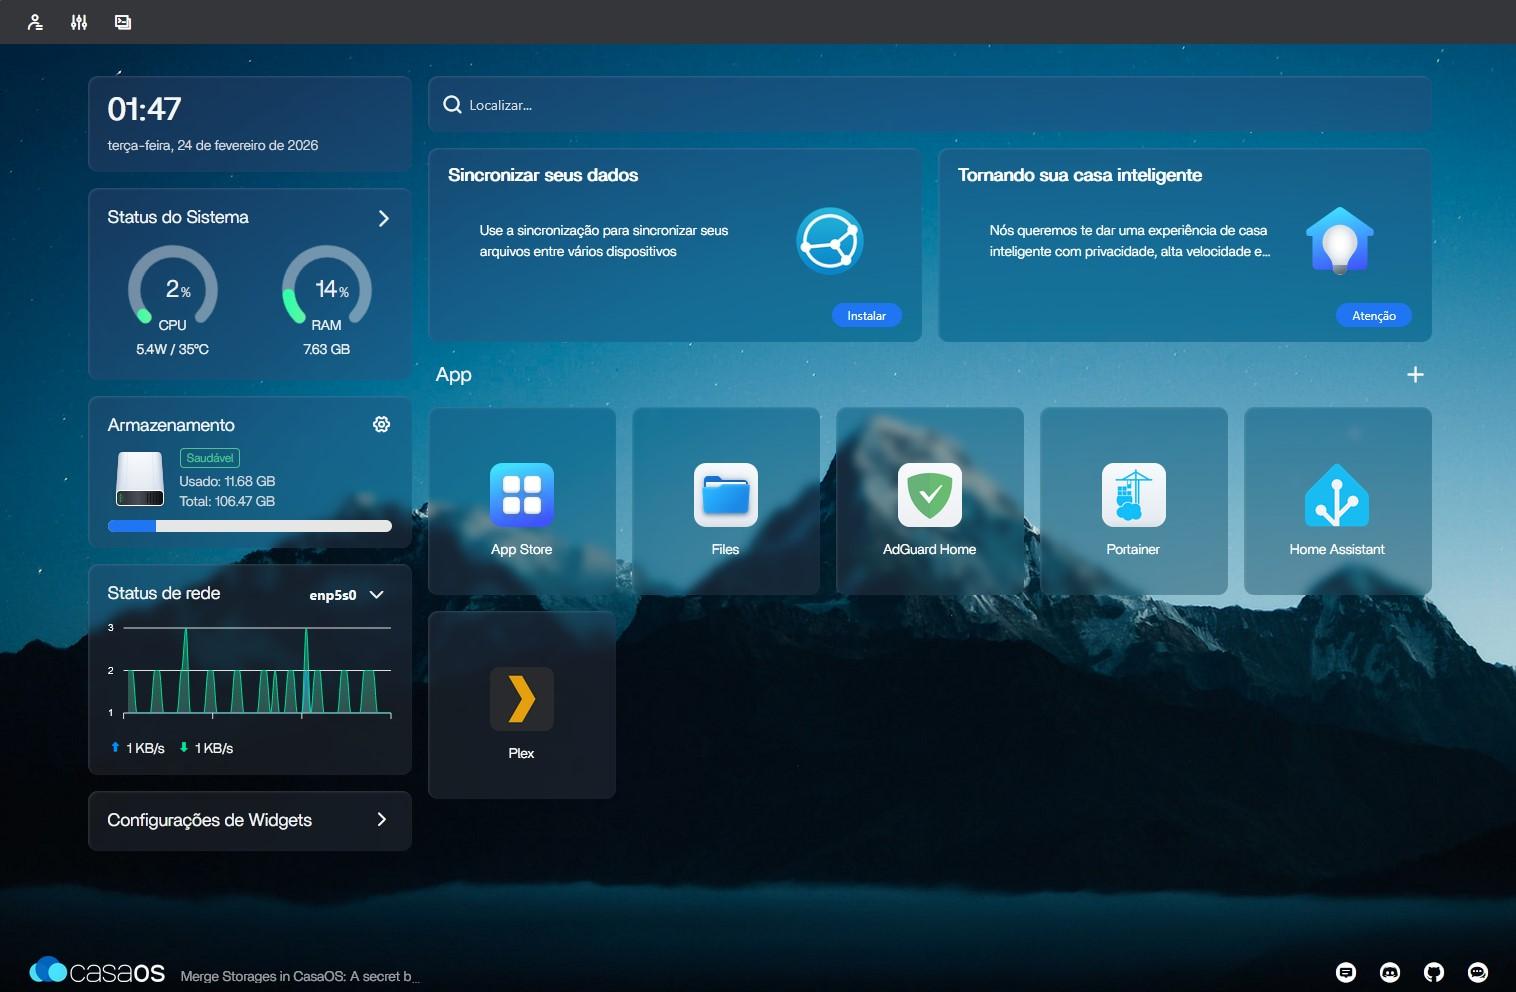
3. CasaOS: A Friendly Interface
If you do not want to work only with terminal commands, CasaOS is a great option. It runs on top of Ubuntu and gives you a clean visual dashboard to manage your homelab.
Best part: it installs and configures Docker for you during setup.
Install CasaOS on Ubuntu
After logging into your Ubuntu Server, run this command:
curl -fsSL https://get.casaos.io | sudo bash4. Your First Services
Start with these beginner-friendly self-hosted apps:
| Service | Purpose | Difficulty |
|---|---|---|
| Portainer | Docker management UI | Easy |
| Pi-hole | Network ad-blocker | Easy |
| Nextcloud | Cloud storage | Medium |
| Home Assistant | Smart home hub | Medium |
What’s Next?
In upcoming posts, I will cover reverse proxy setup with Traefik for remote access, automated backups, Grafana monitoring, and more advanced homelab topics.